Blog
MOZX DIY Car Wrap Car Wash Steps Guide

Step-by-Step Guide to Thoroughly Washing the Entire Vehicle Before Film Application (Applicable to Both Car Wraps and Color-Changing Films)
Key Objectives: Thoroughly remove mud, oil residue, bug residue, tar, and iron particles; ensure the paintwork and glass are free of particles; and minimize dust spots, bubbles, and peeling edges after film application. Washing a car for film application is not the same as regular home car washing—the focus is on dust removal, contaminant elimination, and cleaning crevices. After washing, keep the environment as enclosed and dust-free as possible.
Preliminary Preparation
Tools: High-pressure water gun, two-bucket car wash kit, pre-wash solution, car wash detergent, tar remover, iron particle remover, bug residue remover, glass film remover, detail brush, wheel brush, air blower, lint-free towels, masking tape
Prohibited: Car wash detergents containing wax or gloss-enhancing products (wax can cause the film to adhere poorly or peel off); do not use household mops or sponges.
Step 1: Pre-Rinse (Pre-wash—the most important step for preventing scratches)
- Park the vehicle in a shaded, indoor, dust-free workshop. The body must not be hot; if the engine is running, let it cool down first.
- Use a high-pressure water gun on low pressure to rinse the entire vehicle from top to bottom, first washing away surface dust and large particles of mud and sand.
- Spray the entire vehicle with pre-wash solution (foam pre-wash) and let it sit for 2–3 minutes to dissolve the mud and sand; do not let it dry completely.
- Use the high-pressure water gun to rinse off the pre-wash foam from top to bottom; do not wipe by hand. This step removes most of the sand and grit.
Purpose: To prevent sand and grit from scratching the paint surface during wiping.
Step 2: Deep Cleaning of Wheels and Tires
Before applying the car wrap, be sure to thoroughly clean the wheels and wheel wells to prevent dust from flying onto the wrap during installation.
- Spray wheel cleaner onto the wheels and use a detail brush to scrub the wheel crevices and remove brake dust; rinse and scrub the inner wheel well liners.
- Rinse thoroughly, making sure to remove all mud and sand from the wheel well crevices, as these can cause dust to become airborne later on.
Step 3: Treating Stubborn Contaminants with Specialized Chemicals (Essential for Film Application)
Spray the appropriate chemical onto the specific contaminants as needed, ensuring it does not dry on the paint surface:
- Tar spots: Spot-spray with tar remover, wait a moment, wipe off, then rinse thoroughly;
- Iron oxide spots: Spray iron remover over the entire paint surface; rinse after it turns purple;
- Insect remains and bird droppings: Treat with insect residue remover;
Be sure to rinse all chemicals off completely; residue will damage the film’s adhesive layer.
Step 4: Washing with Two Buckets of Water (Manual Body Wiping)
- One bucket: Clean water for rinsing the gloves; one bucket: diluted car wash solution (wax-free car wash solution)
- Dip the car wash mitt into the car wash solution and work from top to bottom: roof → windows → hood → doors → rear → lower bumper, washing one section at a time.
- After wiping each section, rinse the mitt in the clean water bucket to remove dirt and sand, then dip it back into the solution to avoid scratching the paint with sand particles.
- Once the entire car has been wiped down, use a high-pressure water jet to thoroughly rinse off all the foam from top to bottom.
Step 5: Specialized Window Cleaning (Crucial for Window Film Installation)
Even a slight film of grease or dust on the windows will cause graininess and water marks on the film.
- Clean both the inside and outside of the windows. On the outside, use a grease remover to wipe down all glass surfaces, then rinse thoroughly;
- Inside the windows: Use a glass cleaner and a lint-free cloth to wipe twice, ensuring no grease residue remains; use a detail brush to sweep dust from the window seal gaps.
Step 6: Detailed Cleaning of Crevices (Most Easily Overlooked! Source of Dust Spots)
Door frame crevices, door weatherstripping, hood crevices, tailgate crevices, window trim, and bumper crevices.
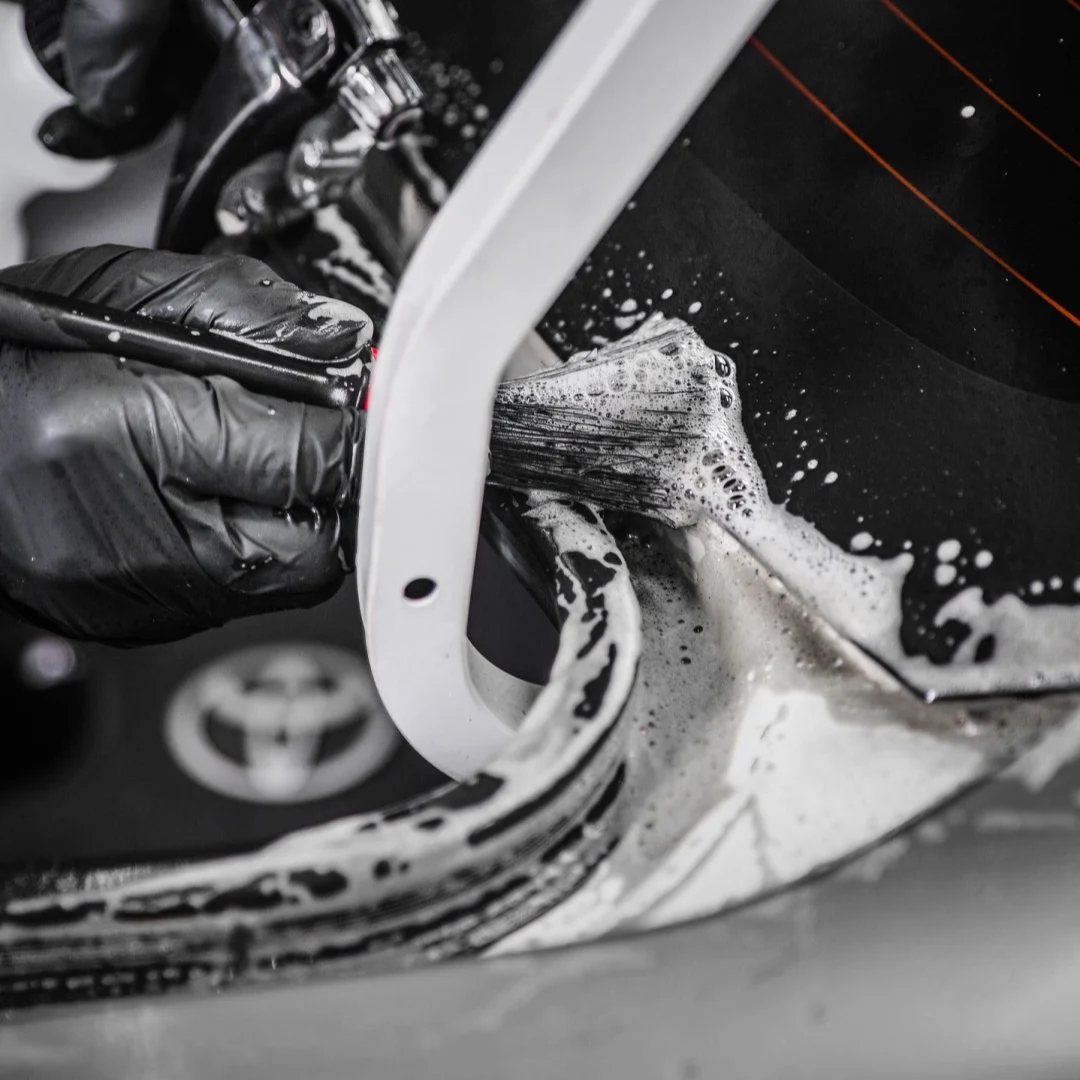
- Use a small detail brush with a steady stream of water to brush out and rinse away all the mud and sand hidden inside the crevices;
Dust left in the crevices will be washed out when water is sprayed during window tinting and drift onto the adhesive surface, forming a dense cluster of dust spots.
- Thoroughly clean dirt from the rubber door seals.
Step 7: Water Removal and Blow-Drying
- Use an absorbent towel to remove most of the water first;
- Use a blower to dry all gaps on the vehicle—door gaps, rubber seals, hood, tailgate, and window trim—to blow out all water trapped inside.
Residual moisture in the gaps can cause water seepage, bubbling, and peeling edges after the film is applied.
Step 8: Pre-Film Application Protection and Final Preparations
- Cover door edges and plastic weatherstripping with painter’s tape to prevent secondary contamination from residual dust after washing;
- Sprinkle water on the workshop floor to suppress dust and prevent it from becoming airborne;
- Do not drive the car out of the workshop after washing; proceed directly to the film application station;
- If the paint surface is to be polished, the car must be thoroughly washed again after polishing to remove all polishing compound—polishing compound is the arch-enemy of window tinting.
Prohibited Practices During Car Wash and Tinting
- Do not use car wash detergents containing wax, coatings, or gloss enhancers; wax creates a barrier between the adhesive layer and the surface, preventing the car wrap or window tint from adhering properly;
- Do not dry-wipe the car body;
- Do not wash the car in direct sunlight when temperatures are high, as the water will evaporate quickly and leave water spots;
- Do not cover the car with a dust cover after washing, as lint will stick to the film;
- Do not skip cleaning the crevices; 90% of dust spots on the film come from dust trapped in these crevices.
Car Wrap / Color-Change Film**: The key is to remove iron particles and tar from the paint surface and to clean all the gaps and the inside of the wheel wells.